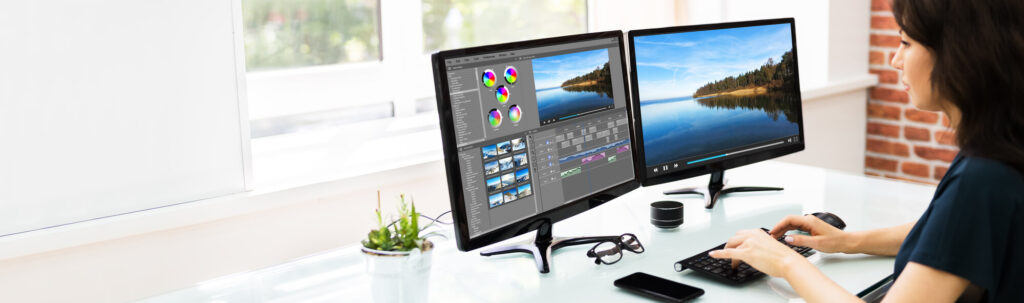
Surely you’ve heard the old saying, “A picture is worth a thousand words.” Well, this is especially true for your blog! Nobody wants their readers to feel like they’re reading a text book. We did enough of that in school.
By including helpful, relevant photos in your blog posts, you’ll be providing Google with more context about your content, which can improve your visibility in search.
Why Should You Add Photos To Your Blog Posts?
Just think about how much you enjoy reading material from a website that is not only full of good written information, but is also pleasing to your eyes.
Surely you’ll want the same for people reading your blog.
Enhance Visual Appearance
Adding photos to your blog posts will enhance the visual appeal of your valuable content, by breaking up long strings of text.
You can also use images to draw attention to key points, demonstrate steps, or help create a specific mood that supports your topic.
Improve Engagement
Photos on your blog posts will also help to:
- boost your SEO/ranking, enabling readers to find your blog posts more readily; and
- complement your written message, to improve readability and increase engagement.
Posts with relevant images tend to get shared more, and readers stay on the page longer—both of which are positive signals to Google.

This page may contain affiliate links, which means I will receive a commission if you purchase through my links, at no extra cost to you. Please read full disclosure for more information.
Where Can You Get Photos For Your Blog?
DIY
To steer clear from copyright issues, the safest bet is to use your own photos in your blog posts. You don’t need any fancy, expensive equipment—you can just use your Smartphone to take quality photos. Original photos can help your blog stand out and show real experience, which Google values.
For best results, take photos in natural lighting, use clean or simple backgrounds, and lightly edit for brightness and clarity.
Canva
In addition to using your own photos for your blog posts, you can use the FREE version of the design tool, Canva, to enhance them with text for Pinterest pins. Those pins can be used for your Pinterest boards and also in your blog posts.
Canva also has a large library of FREE and paid stock photos and templates, which makes creating polished visuals very easy.
If you’re short on time, or you don’t have a creative eye for photography, there are other options.
Deposit Photos
I get photos for my blog by subscribing to Deposit Photos. They are affordable and have a great selection of photos for just about any topic, and your purchase never expires.
Using a mix of original and high-quality stock photos can keep your posts both authentic and visually appealing.

Photo Size Matters
Having beautiful photos on your blog sounds great, right?
But, there’s one problem—large photos can significantly decrease the load time (speed) of your website if you don’t compress them (reduce their size).
If your website is slow to load pages, your readers will become very impatient and will click away to something else—their attention span is only about 5 seconds! In addition to user experience, your site speed also affects how well your posts will rank on Google.
Photos need to be compressed—optimized by minimizing the photo size without degrading the quality—before uploading them to your site.
If you don’t compress your photos, large images will slow down your website!
Fortunately, compressing your photos is easy and there are several different ways to do it.
A good guideline is to keep images around 1200px wide or less to maintain speed and visual quality. JPG works well for photos, whereas PNG is best for graphics needing transparency.
ShortPixel Plugin
To compress your photos, there’s a FREE plugin,* Smush, which has a paid Pro option with advanced features. There’s another popular paid plugin, ShortPixel, with a free trial and several affordable paid versions.
*A plugin is a small software application that extends the features and functions of your WordPress website. Many plugins are free; however, there are some that you’ll need to pay for.
Tinypng
Another option is to use FREE tinypng.com, which is what I did. After compressing my photos, I download them, rename using keywords, and move them to a folder. Then I insert them into my blog posts.
It’s that easy!
Renaming your image files with clear, keyword-friendly names before uploading helps Google understand the topic of your post.
Now you’re ready to upload your beautiful photos to your blog posts, or to your WordPress Media Library where they’ll be available when you need them.
When uploading your photos, be sure to fill out the file name, title, caption (if needed), and Alt Text—these small steps can improve your on-page SEO.
Alternative Text (Alt Text)
In addition to compressing the size of your photos, you also need to describe their contents in the “Alt Text” section of your post. This is done in case your images don’t load, and it also helps those with visual impairments know what is in the photo.
Effective Alt Text should:
- describe what’s actually in the photo
- use natural, easy language
- include your keyword only if it fits naturally
- avoid keyword stuffing
Example of good Alt Text:
“Woman holding a DSLR camera while taking product photos for a blog.”
Example of poor Alt Text:
“Blog photography SEO photos blogging photos SEO tips image blog photos.”
Alt Text is one of the simplest SEO improvements you can make, and using it well can give your posts a helpful ranking boost!
The Guide
When I started answering (vs. just asking) questions in Facebook Groups, I realized that I needed to share what I’ve learned about Online Business.
So, in an effort to help others, I created EMPTY NESTER MOM To .com (The Guide).
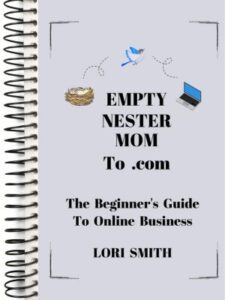

The Guide has five sections that outline the path I followed to start my Online Business, and can help catapult you from stuck to start:
- FOUNDATION
- CONTENT
- PROMOTION
- MONETIZATION
- MINDSET
Ready To Set Up Your Blog?
After you:
- Purchase Equipment
- Get The Guide
- Choose Your Niche
- Define Your Avatar
- Name Your Website
…you’re ready to set up your blog!
Web Hosting Service/Content Platform
ThThe next step is to give your blog a place to live on the Internet:
Sign up with Web Hosting Service—Bluehost
When you sign up with Bluehost, it includes a FREE 1-click install of WordPress.org as your content platform. If you have any problems along the way, Bluehost has great 24/7 customer support. They’ve been a trusted provider since 2003!

Legal Pages For Your Website
As mentioned, once you have your blog set up, a very important next step is to get Legal Pages on your website to protect your Online Business!
Once you have your blog set up, and your Legal Pages in place, read this post to learn why and how you need to create an Email List.
Related
Empty Nester Moms: How To Figure Out What’s Next For Work
Empty Nester Moms: Now Is The Best Time To Start An Online Business
3 Important First Steps For Starting Your Blog
3 Must-Have Pages To Make Your Website Legal
Why It’s Important To Learn SEO For Blogging Success

It’s Your Turn To Fly, Mama!